Real Estate
Important Planning Steps Before Adding a Storage Shed to Your Property

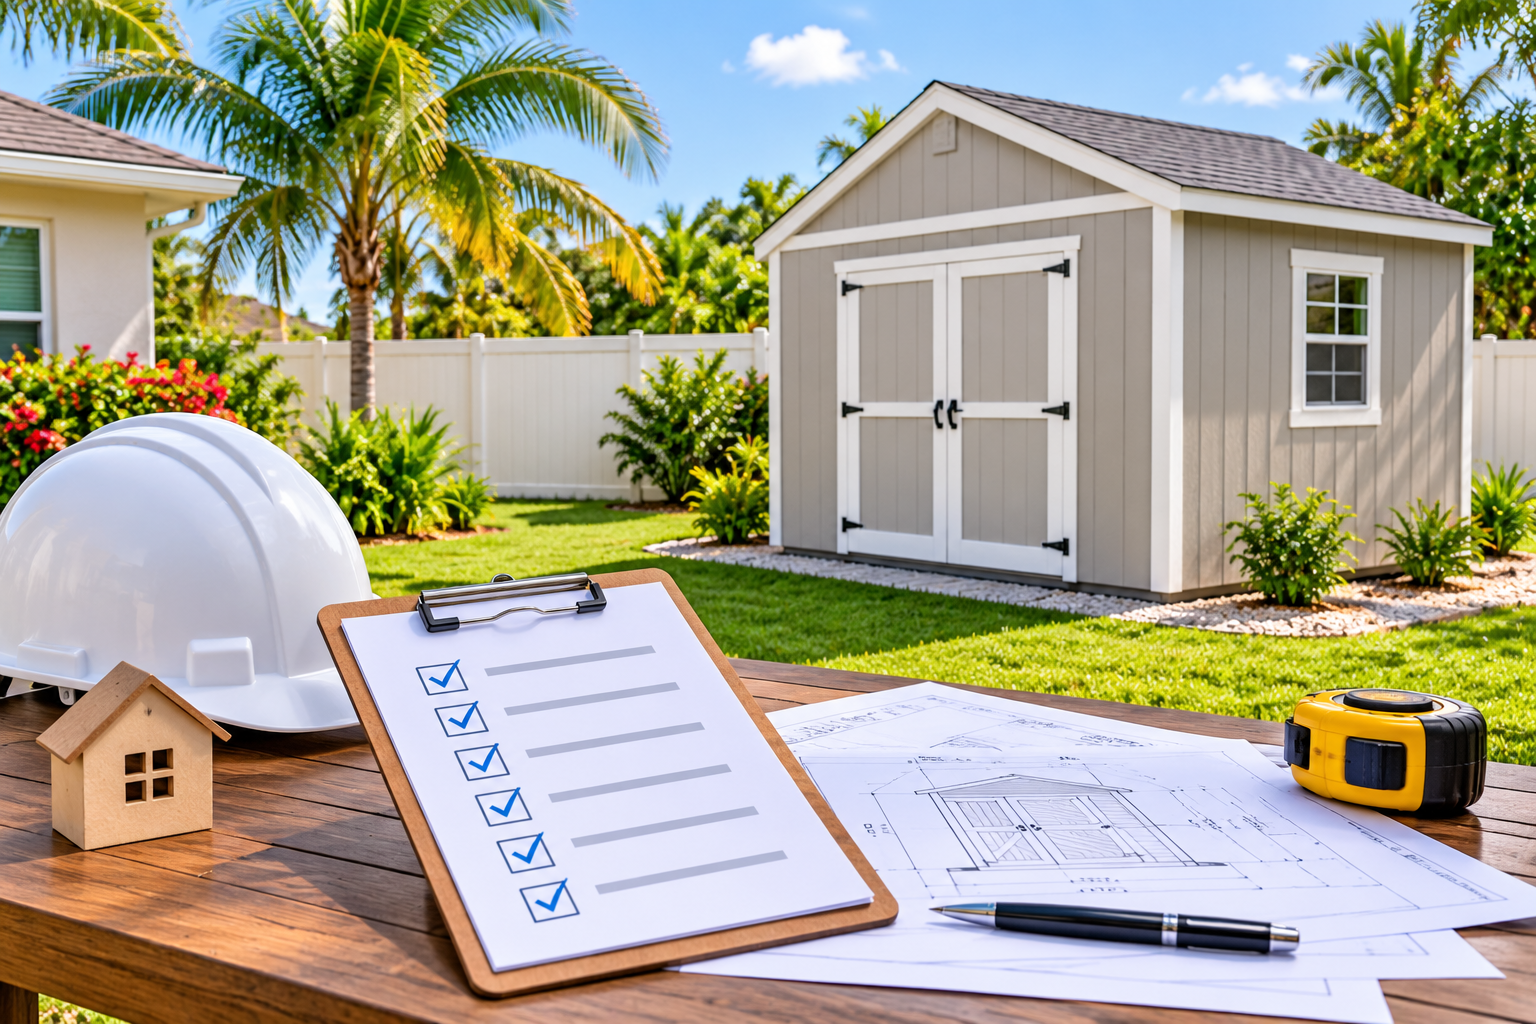
Adding a storage shed can be a practical way to create extra space without expanding your main home. Whether you need somewhere to keep gardening equipment, seasonal decorations, bicycles, or outdoor tools, a well-planned shed can make your property more organized and functional.
However, placing a shed in the backyard involves more than choosing a size and arranging delivery. Property boundaries, zoning restrictions, drainage conditions, building requirements, and permit documentation can all influence where and how the structure can be installed.
Florida property owners should pay particular attention to local regulations because requirements can vary between cities and counties. A shed that appears suitable for one property may not meet the requirements of another.
Before purchasing materials or scheduling installation, take time to understand the important planning steps. Proper preparation can help prevent unnecessary expenses, permit complications, and installation delays.
1. Evaluate Your Property and Choose the Right Shed Location
The first step is identifying where the shed will fit on your property. Although an open corner of the backyard may seem like the easiest location, it may not be the most suitable choice from a planning or regulatory perspective.
Start by reviewing the available outdoor space and identifying existing features such as fences, driveways, trees, utility connections, drainage areas, and other structures. Consider how much room you need for the shed itself and whether there will be enough space to access its doors and move equipment in and out.
Property boundaries are especially important. A shed placed too close to a neighboring property line may create setback concerns. Local rules may establish minimum distances from rear and side property lines, easements, or other structures.
Also consider the ground conditions. A low-lying section of the yard may collect rainwater, while an uneven surface could require additional preparation before installation. Florida properties can experience heavy rainfall, so choosing a location that supports proper drainage is particularly important.
Before finalizing the location, review your property survey if available. It can help identify boundaries, easements, and existing improvements that may affect the proposed shed placement.
2. Understand Florida Shed Permits and Local Zoning Requirements
One of the most important planning steps is determining whether your storage shed requires a building permit or other local approval.
Florida does not have one universal permit rule that automatically applies to every residential shed. Requirements can depend on the shed’s size, height, construction materials, intended use, foundation, location, and the rules of the local building department.
Some smaller structures may qualify for specific exemptions, but an exemption from a building permit does not necessarily mean that every other property regulation can be ignored. Zoning requirements, setback restrictions, easements, and homeowners association rules may still apply.
For example, a homeowner installing a small prefab shed might assume that its relatively compact size means no approval is necessary. However, the local jurisdiction may have additional requirements based on its placement, construction, or property conditions.
Before purchasing a shed, contact the relevant local building department and ask which approvals are required. Confirm whether zoning review, building permits, inspections, or additional documentation will be necessary.
It is also worth checking homeowners association guidelines if your property is part of a managed community. Some associations regulate shed appearance, exterior materials, colors, dimensions, and placement.
Understanding these requirements early can help you select a shed that fits both your storage needs and the applicable property rules.
3. Prepare an Accurate Shed Site Plan
A site plan is an important document when planning a shed installation, particularly when drawings are required for permit review. It shows how the proposed structure will fit within the property and its relationship to existing site features.
Depending on the project’s requirements, a shed site plan may identify property boundaries, existing buildings, proposed shed dimensions, setbacks, driveways, access areas, easements, and other relevant improvements.
Accurate measurements are essential. If the drawing shows the shed in a different location from where it will actually be installed, the discrepancy could lead to review comments or problems during inspection.
For example, imagine a homeowner planning a 12-by-16-foot storage shed in the backyard. The available space looks sufficient, but a recorded utility easement crosses part of the proposed location. Without reviewing the property information, the homeowner might purchase the shed before discovering that the selected location is unsuitable.
This is where professional shed site plan services can be useful. A properly prepared drawing can help communicate the proposed layout and provide the property information needed for the applicable review process.
When preparing a site plan, use reliable property measurements and available survey information rather than estimating distances by eye. Also make sure the proposed shed dimensions and placement match the manufacturer’s specifications.
4. Review Prefabricated Shed Specifications Before Installation
Prefabricated sheds are popular because they can offer a convenient storage solution without requiring every component to be constructed on-site. However, choosing a prefab model does not automatically remove the need to review building and permit requirements.
Before ordering, examine the manufacturer’s specifications carefully. Important details include the overall dimensions, wall height, roof design, construction materials, foundation requirements, anchoring system, and installation instructions.
These details may influence the documentation needed by the local building department.
For example, a metal shed and a wood-framed shed may have different construction characteristics. A larger prefab structure may also require additional information about its foundation, anchoring, or resistance to applicable wind conditions.
Some projects may require prefab shed permit drawings showing the proposed structure, dimensions, foundation details, elevations, or other construction information. The exact documentation depends on the shed design and local permitting requirements.
Do not assume that a manufacturer’s brochure or product specification sheet will be accepted as a complete permit drawing package. Ask the building department what documents are required before submitting an application.
If engineering details or professionally prepared drawings are necessary, coordinate with appropriately qualified professionals to ensure the documentation meets the project’s requirements.
5. Consider Drainage, Utilities, Access, and Florida Weather
A storage shed should be planned around the property’s physical conditions, not simply the amount of available space.
Drainage is particularly important in Florida. Heavy rain can cause standing water around a shed if the site is poorly selected or prepared. Over time, persistent moisture may affect the foundation, stored belongings, and the structure itself.
Choose a location that supports proper surface drainage and avoid blocking existing drainage paths. Depending on the property and project, additional grading or drainage improvements may be necessary.
Utilities are another consideration. Check whether underground electrical lines, water pipes, sewer connections, or other utility features could be affected by excavation or foundation installation. If the shed will have electricity, plan the electrical work separately and confirm the applicable permit and installation requirements.
Think about access as well. Delivery vehicles and installation crews may need a clear route to the backyard. Narrow gates, landscaping, fences, and uneven ground can complicate delivery.
Florida’s weather also deserves attention. Strong winds, heavy rain, and intense sunlight can affect outdoor structures. Select suitable materials and follow the manufacturer’s installation and anchoring requirements. Where applicable, verify that the proposed design meets local construction standards.
Planning these details beforehand can help prevent problems after the shed has been delivered.
6. Organize the Required Documents Before Starting Construction
Once the shed location and design have been selected, organize the information needed for the permit application.
A typical documentation checklist may include:
- Property information: Address, parcel details, and available property survey.
- Shed specifications: Manufacturer, dimensions, materials, and product information.
- Site plan: Existing property features and the proposed shed location.
- Construction details: Foundation, anchoring, elevations, and other required drawings.
- Permit application: Completed forms and any applicable fees.
- Additional approvals: Zoning, HOA, utility, or other approvals when required.
The exact requirements will depend on the local jurisdiction and the characteristics of the proposed structure.
Before submitting, compare the information across all documents. The shed dimensions, location, and construction details should be consistent. Missing information or conflicting measurements can lead to additional review requests.
Property owners can also benefit from keeping digital copies of submitted documents, approval notices, and inspection records. These records provide a useful reference if questions arise later.
Site Plans FL provides site plan-related services for Florida residential and commercial properties. Property owners planning a shed installation can explore its Florida shed permit site plan services to learn more about preparing site documentation for their projects.
Final Thoughts
Adding a storage shed can improve the functionality of your property, but successful installation begins with careful planning. Choosing the right location, understanding local permit requirements, checking property restrictions, and preparing accurate drawings can help prevent avoidable complications.
Florida property owners should pay particular attention to setbacks, drainage, weather conditions, and local building department requirements before purchasing or installing a shed.
Whether you choose a small backyard storage unit or a larger prefabricated structure, taking the time to prepare proper Florida property site plans and required documentation can make the process more organized.
A little planning before installation can save time, reduce unexpected costs, and help ensure your new storage space is a practical addition to your property.



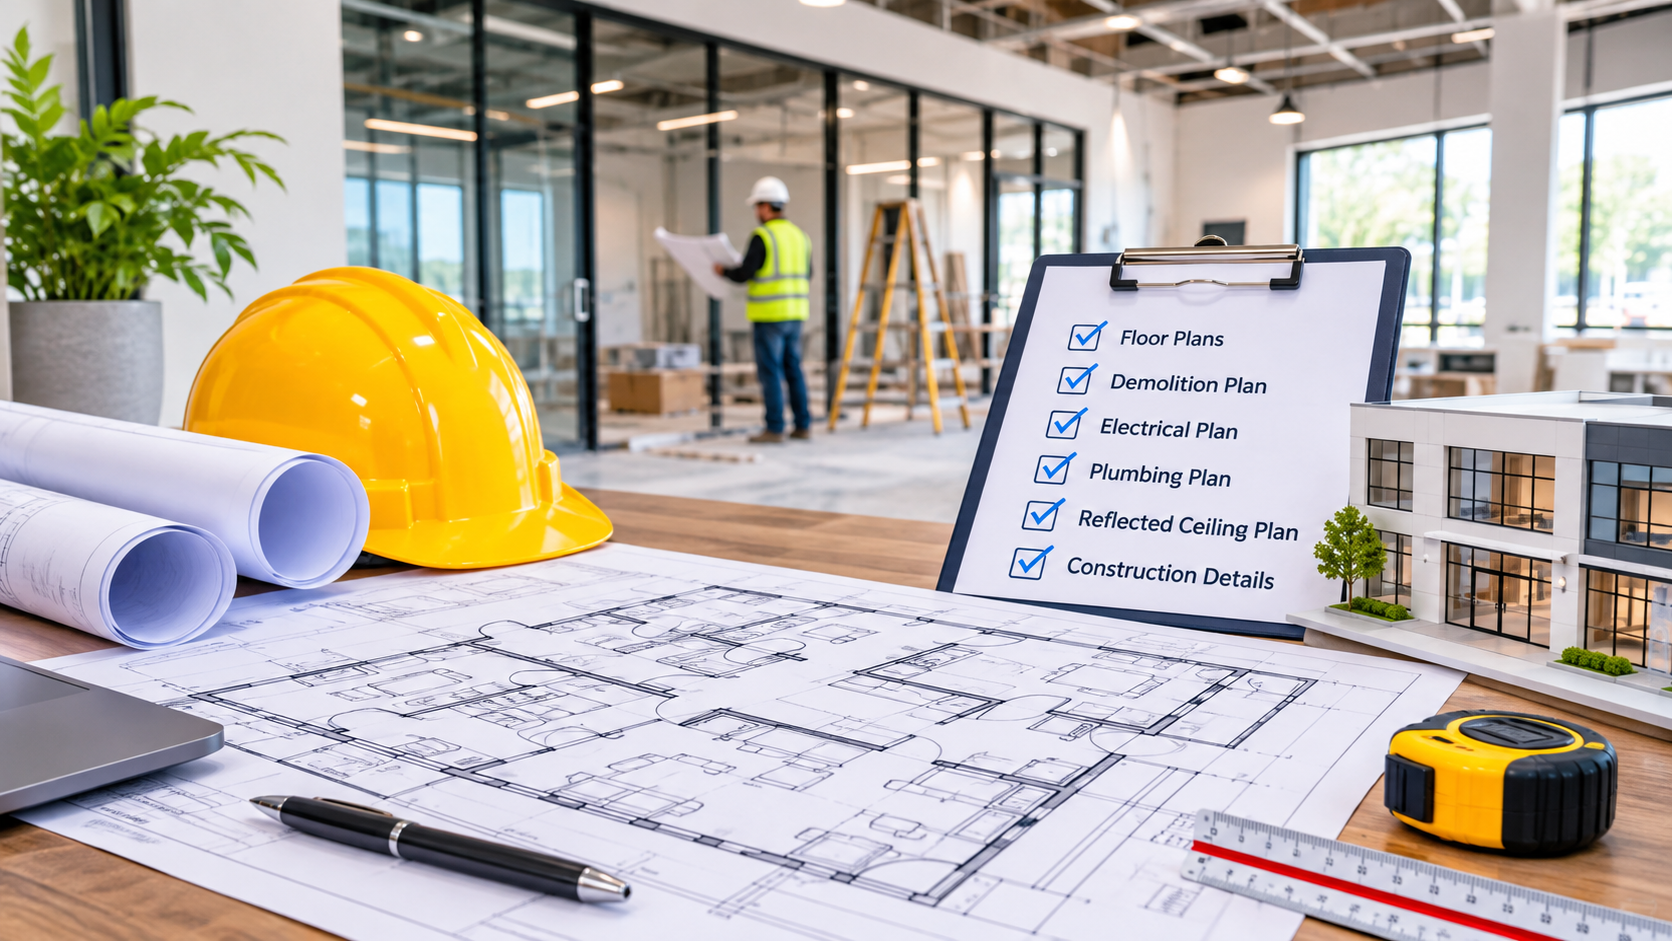
Renovating a commercial office involves more than updating furniture, installing new flooring, or choosing modern interior finishes. Every successful renovation starts with a well-organized plan that explains how the existing space will change and how the proposed improvements will meet local building requirements. Whether you are renovating a small office suite or redesigning an entire commercial floor, accurate drawings help keep the project organized, safe, and ready for permit review.
Preparing professional tenant improvement plans is an important part of this process. These plans communicate the proposed layout, construction changes, electrical updates, plumbing modifications, and other improvements to contractors, property owners, and building departments. Proper documentation also helps identify potential problems before construction begins.
Understanding the planning process can make an office renovation easier to manage. Here are the essential steps to prepare accurate and practical commercial office renovation plans.
1. Evaluate the Existing Office Space
Before developing renovation drawings, begin by understanding the current condition of the commercial property. An accurate assessment provides the foundation for every design and construction decision.
Start by reviewing the existing floor plan and identifying important building features, including:
-
Interior and exterior walls
-
Existing doors, windows, and entrances
-
Structural columns and load-bearing walls
-
Restrooms and plumbing fixtures
-
Electrical panels and existing outlets
-
HVAC equipment and ventilation systems
-
Emergency exits and accessible pathways
If existing drawings are unavailable or outdated, a site visit and field measurements may be necessary. Record room dimensions, ceiling heights, wall locations, and other important details.
It is also important to identify which elements will remain unchanged and which areas require modifications. For example, a renovation may involve removing non-structural partitions, creating private offices, or converting an open workspace into meeting rooms.
A reliable existing-conditions drawing helps designers and contractors understand the property before making changes. It also reduces the possibility of inaccurate measurements and unexpected construction issues.
2. Develop a Functional Office Layout
Once the existing space has been evaluated, the next step is to develop a proposed office layout. The goal is to create an environment that supports daily business activities while making efficient use of the available floor area.
Consider how employees, visitors, and customers will use the space. Different businesses have different requirements, so the layout should reflect the company’s operations and workplace needs.
Common office renovation areas include:
-
Private offices for management and staff
-
Open workstations and collaborative spaces
-
Conference and meeting rooms
-
Reception and waiting areas
-
Break rooms and employee kitchens
-
Storage and supply rooms
-
Restrooms and support facilities
Pay close attention to circulation and accessibility. Employees and visitors should be able to move comfortably between rooms without unnecessary obstacles. Hallways, door openings, and accessible routes should be evaluated against applicable building and accessibility requirements.
Furniture placement should also be considered during the planning stage. Workstations, desks, conference tables, and storage units can affect circulation, electrical outlet locations, and usable floor space.
A well-designed layout improves workplace functionality and helps contractors understand the intended arrangement before construction begins.
3. Prepare Detailed Tenant Improvement Plans
Tenant improvement plans are among the most important documents in a commercial office renovation project. They show the proposed modifications to an existing commercial space and provide the information needed to communicate the scope of work.
Depending on the project’s complexity and local requirements, a tenant improvement drawing package may include several sheets.
Architectural floor plans: These drawings show the proposed room arrangement, walls, doors, windows, dimensions, and other architectural elements.
Demolition plans: These identify existing walls, partitions, fixtures, and other features that will be removed or modified.
Construction plans: These illustrate new walls, partitions, door openings, and other proposed construction work.
Reflected ceiling plans: These show ceiling layouts, lighting locations, ceiling-mounted equipment, and other overhead elements.
Finish plans: These identify flooring materials, wall finishes, ceiling finishes, and other interior specifications.
Furniture and equipment layouts: These communicate the placement of workstations, desks, cabinets, and specialized office equipment.
Each drawing should be clear, properly labeled, and consistent with the project’s scope. Dimensions, notes, symbols, and drawing references should be coordinated across the complete set.
Professional commercial drafting services can help convert renovation concepts and field measurements into organized technical drawings that contractors and permitting authorities can understand.
4. Include Electrical, Plumbing, and HVAC Details
Office renovations often require updates to building systems. These changes should be coordinated with the architectural layout to avoid conflicts during construction.
Electrical planning is particularly important in modern offices. Additional workstations, meeting rooms, and equipment may require new outlets, lighting fixtures, switches, and dedicated circuits. Electrical drawings should communicate the proposed locations and relevant system information.
Plumbing plans may be necessary when the renovation involves new sinks, kitchenettes, restrooms, or changes to existing plumbing fixtures. The drawings should identify proposed fixtures, connections, and relevant plumbing modifications.
Heating, ventilation, and air conditioning (HVAC) requirements also deserve attention. New partitions can affect airflow, while increased occupancy may influence ventilation and cooling needs. The proposed layout should be reviewed to determine whether existing equipment and ductwork can support the renovated space.
Depending on the project and local regulations, mechanical, electrical, and plumbing drawings may need to be prepared or reviewed by appropriately qualified design professionals.
Coordinating these systems early helps reduce construction conflicts, unnecessary revisions, and delays during permit review.
5. Review Building Codes and Prepare Office Permit Drawings
Before submitting a renovation project for approval, review the applicable building codes and local permitting requirements. Commercial office renovations may involve several regulatory considerations, depending on the building’s location, occupancy, and proposed scope of work.
Important areas to evaluate include:
-
Building occupancy classification and permitted use
-
Occupant load and exit requirements
-
Fire safety and emergency egress
-
Accessibility requirements
-
Door widths and accessible circulation
-
Structural modifications
-
Electrical and plumbing regulations
-
Mechanical ventilation requirements
-
Energy efficiency standards
Not every office renovation requires the same permit documentation. Minor cosmetic improvements may have different requirements from projects involving new partitions, electrical modifications, plumbing work, or changes to building occupancy.
Office permit drawings should clearly communicate the existing conditions and proposed improvements. Building departments may request architectural floor plans, demolition drawings, construction details, life-safety information, and supporting engineering documents.
Check with the local building department before finalizing the drawing package. Requirements vary between cities and jurisdictions across the United States.
If structural components are affected, additional structural calculations and drawings prepared by qualified professionals may be required. Similarly, certain electrical, plumbing, and mechanical changes may require separate technical documentation.
Accurate and coordinated drawings help reviewers understand the project and can reduce requests for corrections or additional information.
6. Finalize the Drawing Package and Coordinate Construction
After preparing the architectural and technical drawings, review the complete package before issuing it for permitting or construction.
Start by checking that all drawing sheets use consistent dimensions, project information, labels, and revision references. Confirm that the proposed floor plan matches the demolition plan, reflected ceiling plan, and building-system layouts.
A final review should also confirm:
-
All proposed changes are clearly identified.
-
Existing and new construction are distinguished.
-
Door and room dimensions are accurate.
-
Accessibility and exit routes are properly addressed.
-
Electrical, plumbing, and HVAC layouts are coordinated.
-
Required notes and construction details are included.
-
Supporting documents are provided where necessary.
Once the package is complete, submit the required documents to the appropriate local authority. If reviewers request corrections, revise the affected drawings and coordinate the updates with the rest of the document set.
Approved drawings should then be shared with contractors and other project participants. Keeping everyone informed about the latest revisions helps prevent construction mistakes and misunderstandings.
For complex renovations, working with experienced drafting professionals can make this process more manageable. They can help organize the drawing package, incorporate design revisions, and prepare clear documentation based on project requirements.
Conclusion
Preparing plans for a commercial office renovation requires careful evaluation, functional space planning, accurate technical drawings, and attention to local building regulations. From documenting existing conditions to developing detailed tenant improvement plans and coordinating office permit drawings, every stage contributes to a more organized renovation process.
Working with professional commercial drafting services can help property owners, tenants, architects, and contractors turn renovation concepts into clear, coordinated plans. With the right documentation in place, businesses can move toward construction with a better understanding of the proposed work, permitting requirements, and project expectations.
If you are planning a commercial office renovation, visit Site Plans Online to explore professional drafting support and site plan solutions for your next project.



Owning property in Dubai while living somewhere else creates a very specific problem when it comes time to sell. You want to sell my property fast, but you cannot be there for viewings, sign documents in person, or sit across the table for negotiations. The good news is that this situation is common, and Dubai’s system is built to accommodate it through a Power of Attorney, provided you set it up correctly and give yourself enough runway.
At Takween Aldar, we are a RERA-registered real estate agency with over 12 years of experience in the Dubai market, backed by ORN 52576 and DLD Trade License No. 1512704, and we regularly work with overseas owners selling remotely. This guide covers what a POA involves, how to set one up from abroad, and what actually speeds up a remote sale. For the legal drafting and attestation of the POA itself, you should work with a licensed notary or property lawyer, since getting this document right the first time avoids costly delays later.
Can You Sell Property in Dubai While Living Abroad?
Yes. Selling property in Dubai from another country is a well-established process, and a significant share of owners in the market are overseas investors who bought as an investment rather than to live in personally. The mechanism that makes this possible is a Power of Attorney (POA), which legally authorizes someone else, typically a trusted individual or your real estate broker, to act on your behalf for the sale.
The Dubai Land Department fully accepts POA-based transactions, but the document needs to be drafted, notarized, and attested correctly, and this is where delays most commonly happen if it is not handled properly from the start.
What Is a Power of Attorney (POA) and Why You Need One
A POA is a legal document giving another person, known as your agent or attorney-in-fact, the authority to act on your behalf for specific matters. For a property sale, you generally want a Special POA rather than a General POA. A Special POA is limited to a single transaction and specifically names the property, along with the exact powers you are granting, such as the authority to sell, obtain the No Objection Certificate (NOC), sign the transfer documents, and receive the sale proceeds.
A Special POA is considered safer than a General POA precisely because it limits what the holder can do, reducing risk for you as the owner while still giving your representative everything they need to complete the sale.
How to Set Up a POA from Abroad
If you are outside the UAE, there are generally two routes, and the right one depends on your situation and location.
The traditional attestation route involves drafting the POA, ideally in Arabic or bilingual Arabic-English since the DLD generally does not accept English-only documents, then notarizing it locally in your country of residence. From there, it typically needs authentication by your home country’s foreign affairs ministry (or an apostille, where applicable), legalization by the UAE Embassy or Consulate in your country, and final attestation by the UAE Ministry of Foreign Affairs (MOFA) once it reaches the UAE. This full chain commonly takes one to three weeks, sometimes longer depending on your country, so it is worth starting this process as early as possible rather than after you already have a buyer lined up.
The digital e-Notary route, where available, allows the POA to be notarized directly through the UAE’s Ministry of Justice digital system, using a verified UAE Pass. This route generally skips the embassy attestation chain entirely and can be significantly faster, though it typically requires the appointed agent or a representative to be present in the UAE to help complete the process.
Once your POA is properly attested and translated where needed, the original document needs to be registered and presented at the relevant trustee centre before it can be used in your transaction.
Steps to Selling Your Dubai Property Remotely
With your POA holder appointed, the actual sale process follows a familiar path, just conducted on your behalf.
Your appointed representative, working with a RERA-registered broker, arranges a market valuation and agrees on a competitive listing price. The property is marketed and viewings are arranged, ideally with professional photography since you are not there to give buyers an in-person impression. Once an offer is accepted, your POA holder signs the Memorandum of Understanding (Form F) and collects the deposit on your behalf. The next step is obtaining the NOC from the developer, confirming there are no outstanding service charges or restrictions on the property, and your POA holder handles this application. Finally, your representative attends the Dubai Land Department or an authorised trustee office to complete the transfer, sign on your behalf, and receive the sale proceeds as authorized in the POA.
Throughout this, having a broker who communicates clearly and proactively with you across time zones matters more than almost anything else, since you are relying entirely on updates rather than being present.
What Makes a Sale Go Faster
A few things consistently separate a quick remote sale from a slow one. Accurate, market-aligned pricing from the outset avoids the common trap of overpricing and then chasing the market down over months, which is especially costly when you are not there to monitor local conditions closely. Professional photography and a clear, honest listing description matter more for remote sellers, since buyers cannot ask you questions directly and rely entirely on what is presented.
Having your documents ready in advance, including the title deed, your Emirates ID or passport copy, and a properly attested POA before you start marketing, removes a common bottleneck later in the process. And working with a broker who proactively manages the NOC application and stays ahead of paperwork, rather than waiting for each step to be chased, keeps the transaction moving even with the added layer of coordinating through a POA holder.
Common Pitfalls When Selling Remotely
A few mistakes come up repeatedly with overseas sellers. Using a POA with a scope that is too narrow, or one that does not specifically name the property and the exact powers needed, can cause the transfer to be rejected at the trustee centre, forcing you to redo the attestation process. Special POAs also typically carry a limited validity period, often one to two years, so arranging one too far in advance of an intended sale can mean it expires before you use it.
Submitting an English-only document when Arabic is required, or missing the final MOFA attestation once the document reaches the UAE, are both common causes of delay. And simply not budgeting enough lead time for the attestation chain, which can independently take one to three weeks, is one of the most common reasons a remote sale takes longer than expected.
Why Work with a RERA-Registered Agency When Selling from Abroad
Selling remotely puts more weight on your broker than a typical transaction, since you are relying on them to represent your interests without being present yourself. A RERA-registered agency brings accountability that an informal arrangement cannot, along with experience specifically navigating POA-based transactions, which not every broker handles regularly.
At Takween Aldar, our sell my property service covers valuation, marketing, negotiation, and full transaction management, and we are experienced in working with overseas owners through the POA process from start to finish. If speed is your priority, our sell your house fast page outlines how we approach pricing and positioning to move a property quickly without leaving value on the table. Our sellers guide also covers the broader selling process in more detail.
Frequently Asked Questions
Can I sell my Dubai property without ever visiting the UAE?
Yes, provided you set up a properly attested Special POA authorizing a representative to act on your behalf for the sale, including signing the transfer documents and receiving the proceeds.
How long does it take to get a POA ready if I am abroad?
Using the traditional embassy attestation route, budget roughly one to three weeks, though this varies significantly by country. A digital e-Notary route, where available, can be faster but typically requires your representative to complete part of the process in the UAE.
Should I appoint a family member or my real estate broker as my POA holder?
This depends on your situation and comfort level. Many overseas sellers appoint a trusted family member or friend based in Dubai, while working alongside a RERA-registered broker who manages the marketing, negotiation, and paperwork. Whoever you appoint should be someone you trust completely, since the POA gives them real legal authority over the transaction.
Does the buyer need to know I am selling through a POA?
Yes, this is disclosed as part of the transaction, and the POA holder’s authority is verified as part of the standard transfer process at the Dubai Land Department or trustee centre.
What happens if my POA expires before the sale completes?
If a Special POA expires before the transfer is finalized, you will need to issue a new one, which means repeating the attestation process. This is why it is important to time your POA closely to your intended sale rather than arranging it too far in advance.
Ready to Sell Your Dubai Property from Abroad?
Selling remotely does not have to mean losing control over the process or waiting longer than necessary. Schedule a free consultation with our sales team at Takween Aldar, and we will walk you through how we support overseas sellers from valuation through to transfer.


About Price Capital Group
Price Capital Group is a private real estate investment and asset management firm based in South Florida. The company focuses on acquiring, structuring, and managing real estate assets with strong fundamentals and long term potential.
Our investment focus includes commercial real estate, multifamily properties, industrial and warehouse facilities, office buildings, retail plazas, and NNN lease assets. We evaluate each opportunity based on its location, financial performance, market conditions, operational needs, and potential for long term value.
Our Purpose
Our purpose is simple. We identify quality real estate opportunities, develop the right investment structure, and execute each transaction with discipline.
We believe good real estate investing starts with understanding the asset. A strong property can create value when it is purchased at the right terms, managed properly, and supported by a clear long term strategy.
Our Investment Approach
At Price Capital Group, we take a disciplined approach to real estate investment. Our process includes careful underwriting, detailed property analysis, thoughtful deal structuring, and active asset management.
We focus on the fundamentals behind each opportunity rather than making decisions based only on short term market movements. This approach allows us to evaluate potential risks and opportunities before committing capital.
Our Real Estate Focus
We invest across several commercial property sectors. Our focus includes multifamily communities, industrial and warehouse properties, office buildings, retail plazas, and NNN lease assets.
This diversified approach allows us to evaluate different types of real estate opportunities while remaining focused on properties that fit our investment criteria.
Hands On Asset Management
Our involvement does not stop after an acquisition. Property management is handled internally, giving us greater oversight of day to day operations and asset performance.
A hands on management approach helps us identify operational improvements, respond to property needs, and maintain the quality of our assets. We believe active management plays an important role in protecting and creating long term value.
Working With Industry Partners
Real estate is built on strong relationships. We work with property owners, sellers, brokers, capital partners, and other professionals throughout the investment process.
These relationships help us identify opportunities, understand local markets, and develop structures that support successful transactions. We value clear communication, professionalism, and a straightforward approach when working with our partners.
Our Market
Price Capital Group is focused on South Florida and nearby markets. We look for opportunities where property fundamentals, market conditions, location, and long term potential align with our investment strategy.
Our local market focus allows us to stay close to the properties and markets we invest in while maintaining a practical approach to acquisition and asset management.
Building Long Term Value
Our goal is not simply to acquire real estate. We aim to build and manage a portfolio of quality assets that can create sustainable long term value.
Every investment decision is made with discipline and a focus on the asset. From initial underwriting to property management, we remain focused on responsible execution and long term results.
Connect With Price Capital Group
Price Capital Group welcomes conversations with property owners, brokers, investors, and capital partners who are exploring real estate opportunities in South Florida.
If you have a property or investment opportunity that may align with our strategy, our team is available to discuss the details and determine whether there is a potential fit.
Price Capital Group
1509 North State Rd 7, Suite G
Margate, FL 33063
(754) 547-5214
support@pricecapitalgroup.com

Is Your Manhattan Business Outgrowing Its Commercial Space?

The Role of Protective Relays in Modern Substations

How Recessed Panel Cabinet Doors Affect Kitchen Style and Function

How Raised Panel Doors Change the Look of a Kitchen

MacArthur Airport Car Service for Business Travelers and Corporate Executives

Rani No Hajiro in Ahmedabad: A Complete Guide to History, Shopping & Hidden Secrets

How to Get Promoted Faster at Work: Smart Career Growth Tips

Dublin City University: Everything You Need to Know Before Applying in 2026

Digital Marketing for Beginners: Step-by-Step Guide to Start and Succeed in 2026